Trimming Book Edges by Hand with a Chisel
Trimming the edges of a textblock is a critical operation in book binding; unreliable edges can give a messy look to a book, and a not-straight edge will undermine the entire book structure. The plough was the standard instrument in the early workshops: a sliding knife guided against a lying press, shaving away fine paper ribbons with patient strokes. Later, the guillotine brought industrial speed and precision, slicing through entire stacks in a single bite. Both tools work well but are heavy, specialized, and often out of reach for the small-scale binder.
However, cutting the edges with a wood chisel is a more straightforward method. With nothing more than a sharpened blade, two flat blocks of wood, and careful hands, you can achieve a crisp, square finish that rivals machine-cut edges. It is slower, but it connects you to the tradition of handwork in a way the guillotine never will.
Steps
Step One: Sharpen the Chisel
A clean cut begins with a properly sharpened tool. The simplest way to guarantee consistency is to use a honing guide set to the correct angle — about 25° for the primary bevel and a touch steeper (around 35°) for a micro-bevel. Secure the chisel in the guide, place it bevel-down on your waterstone or oilstone, and work it back and forth in smooth, even strokes. Start on a coarse stone to establish the bevel, then move to medium and fine stones to refine the edge.
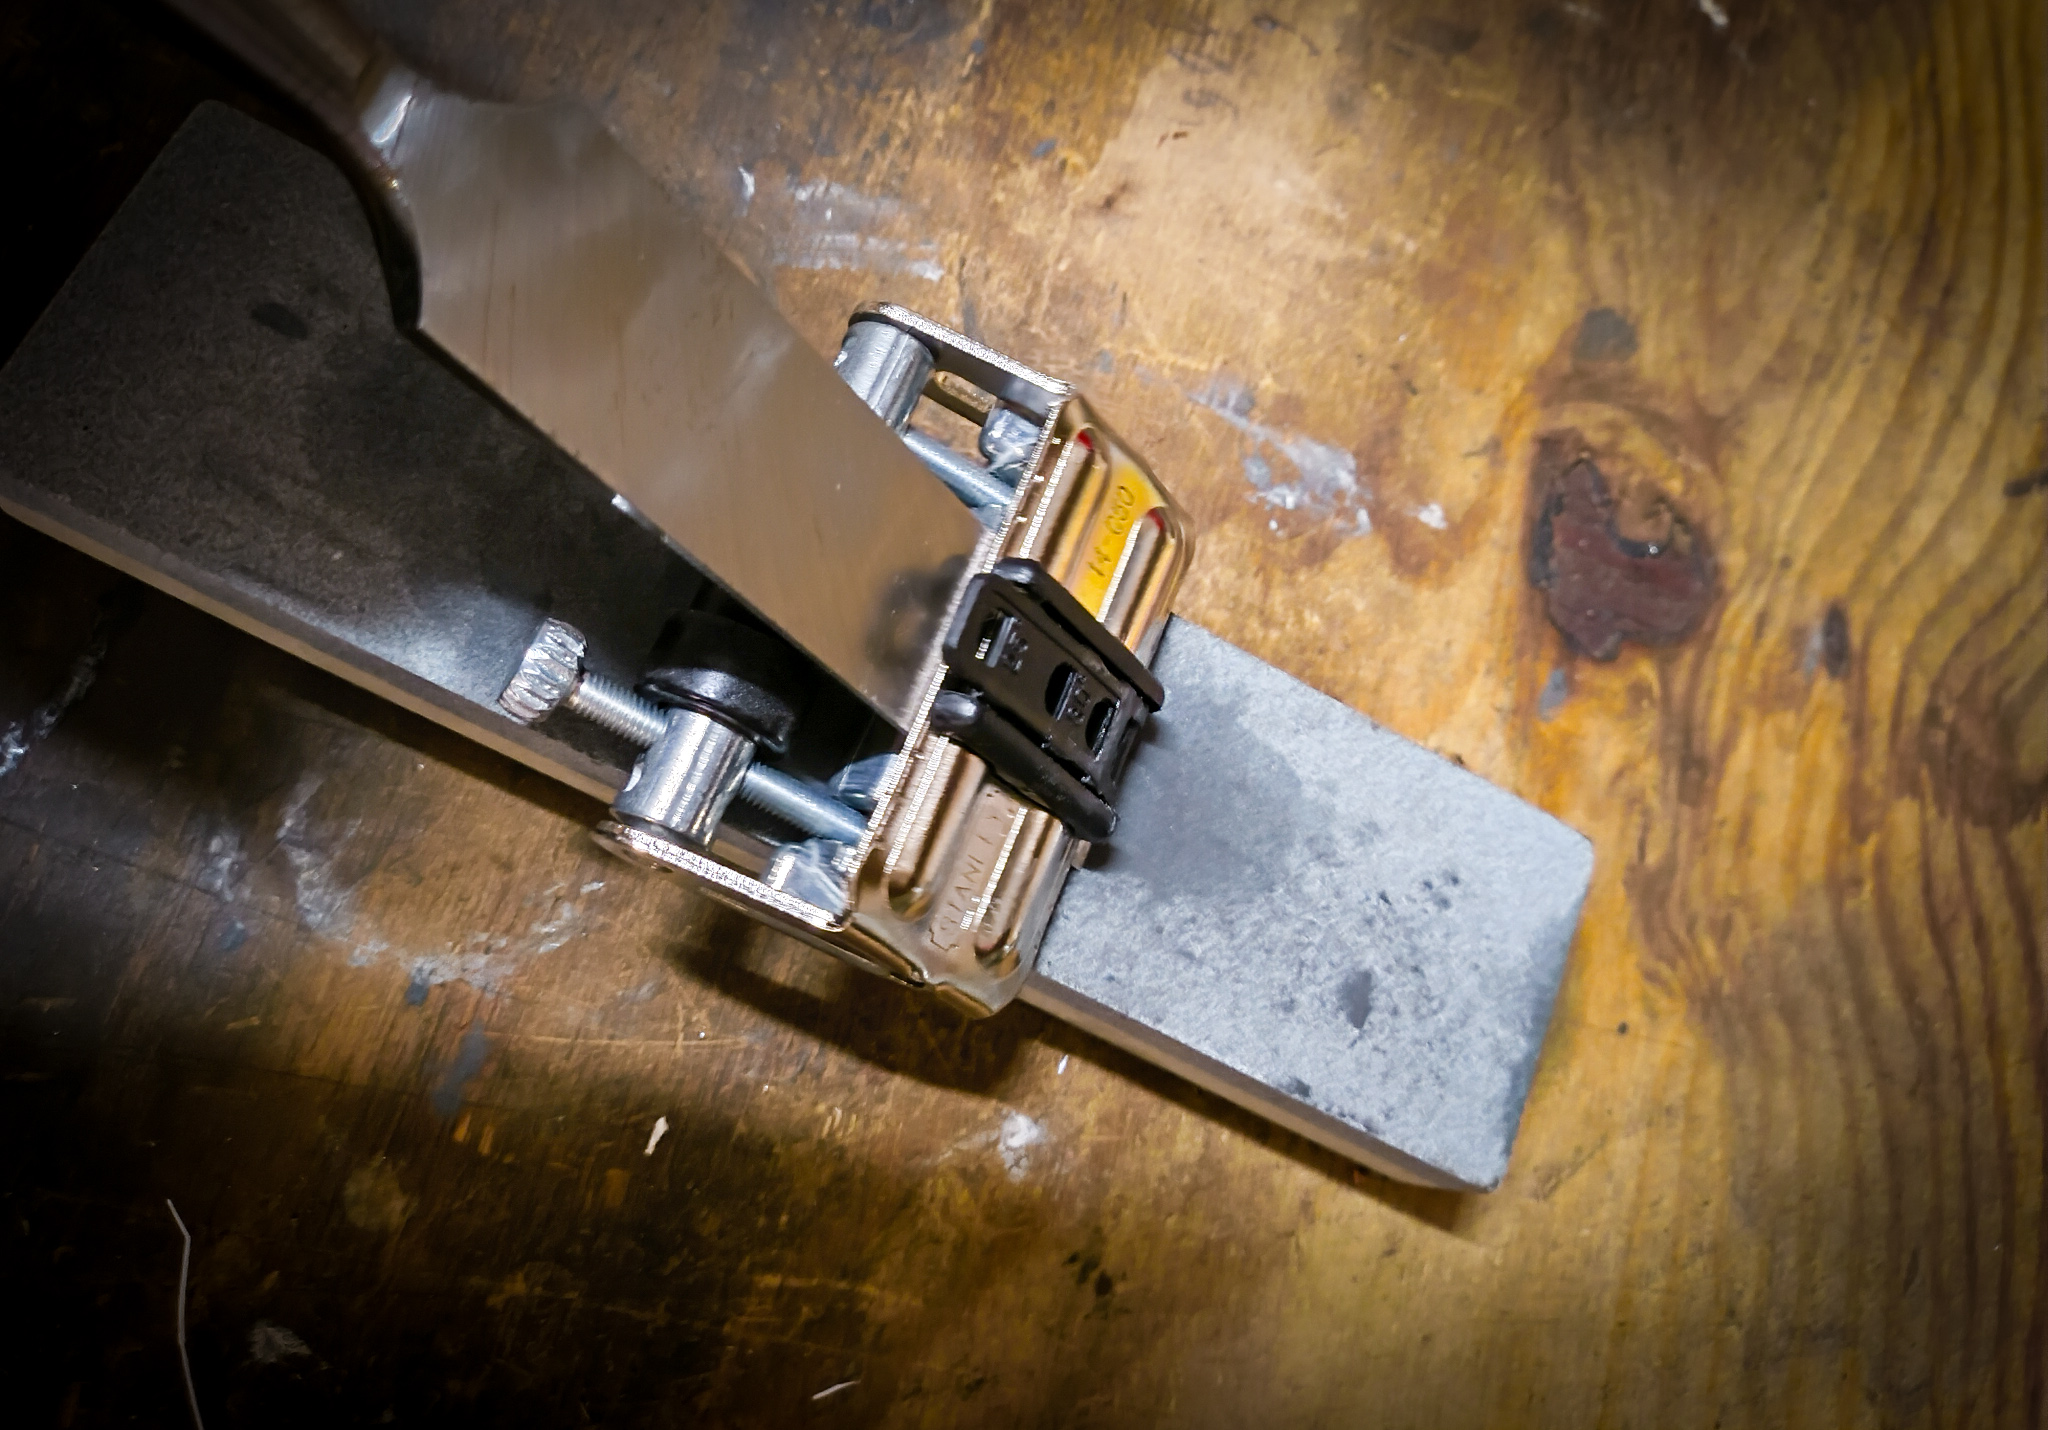
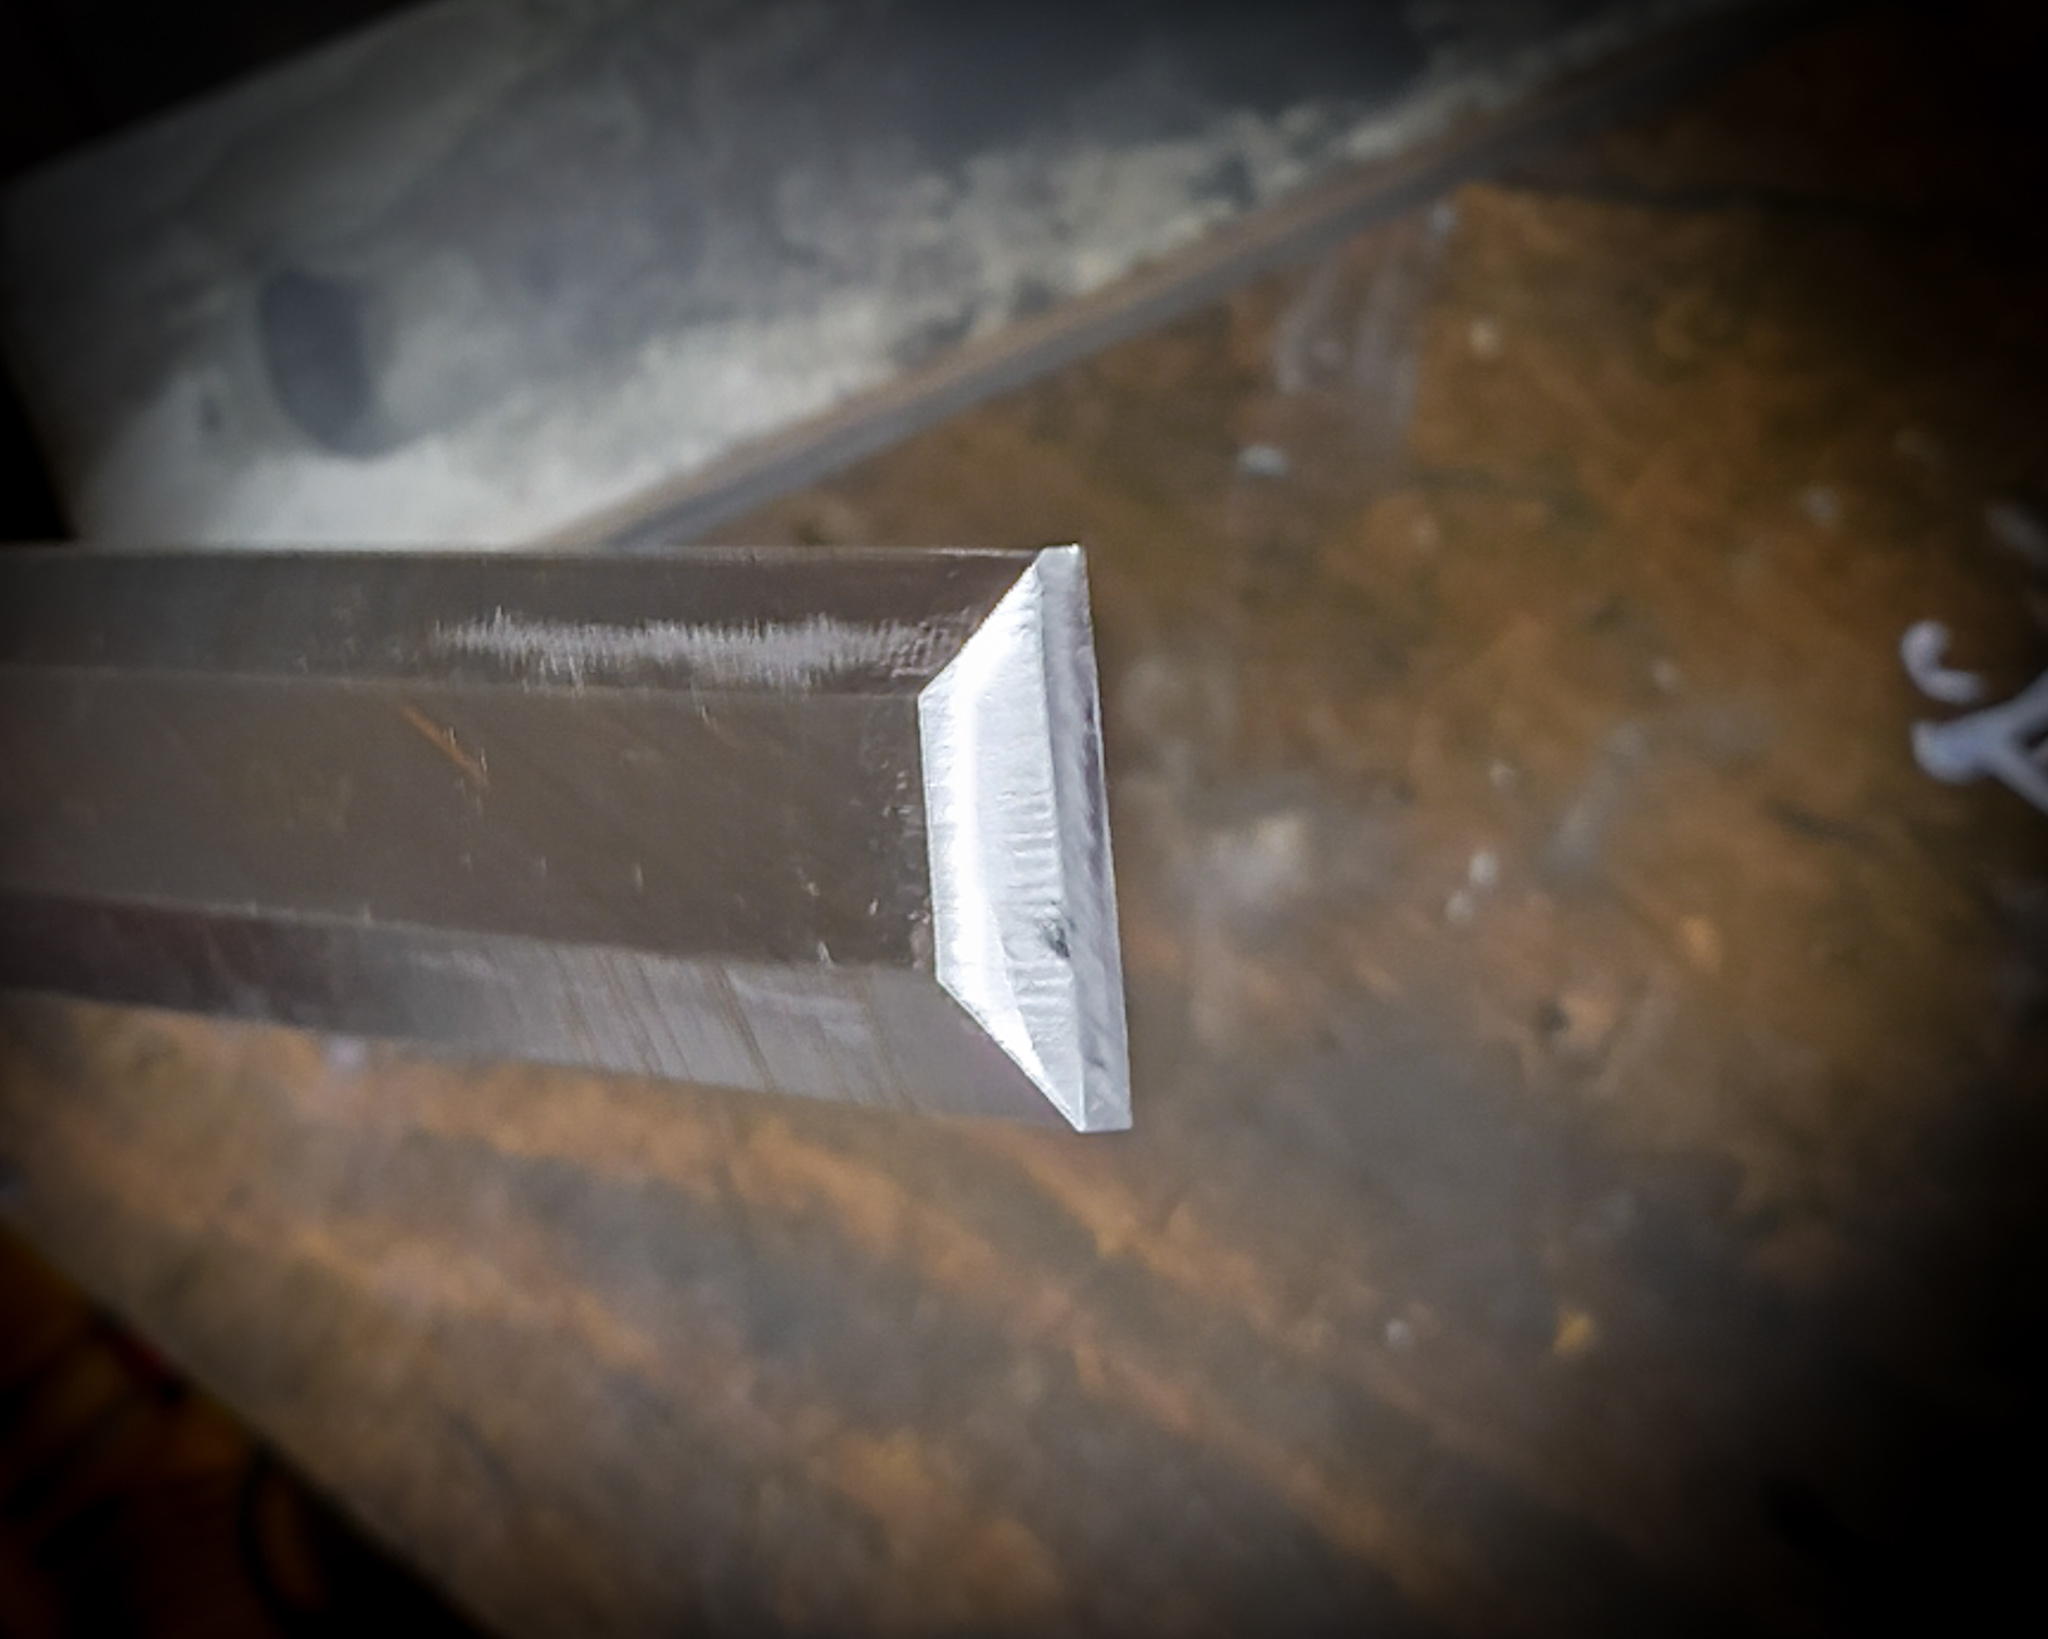
Once the bevel shines and the burr on the back can be felt, flip the chisel flat against the stone to remove it. Finish by adding a few strokes on the finest stone, or strop the edge on leather for a razor finish.
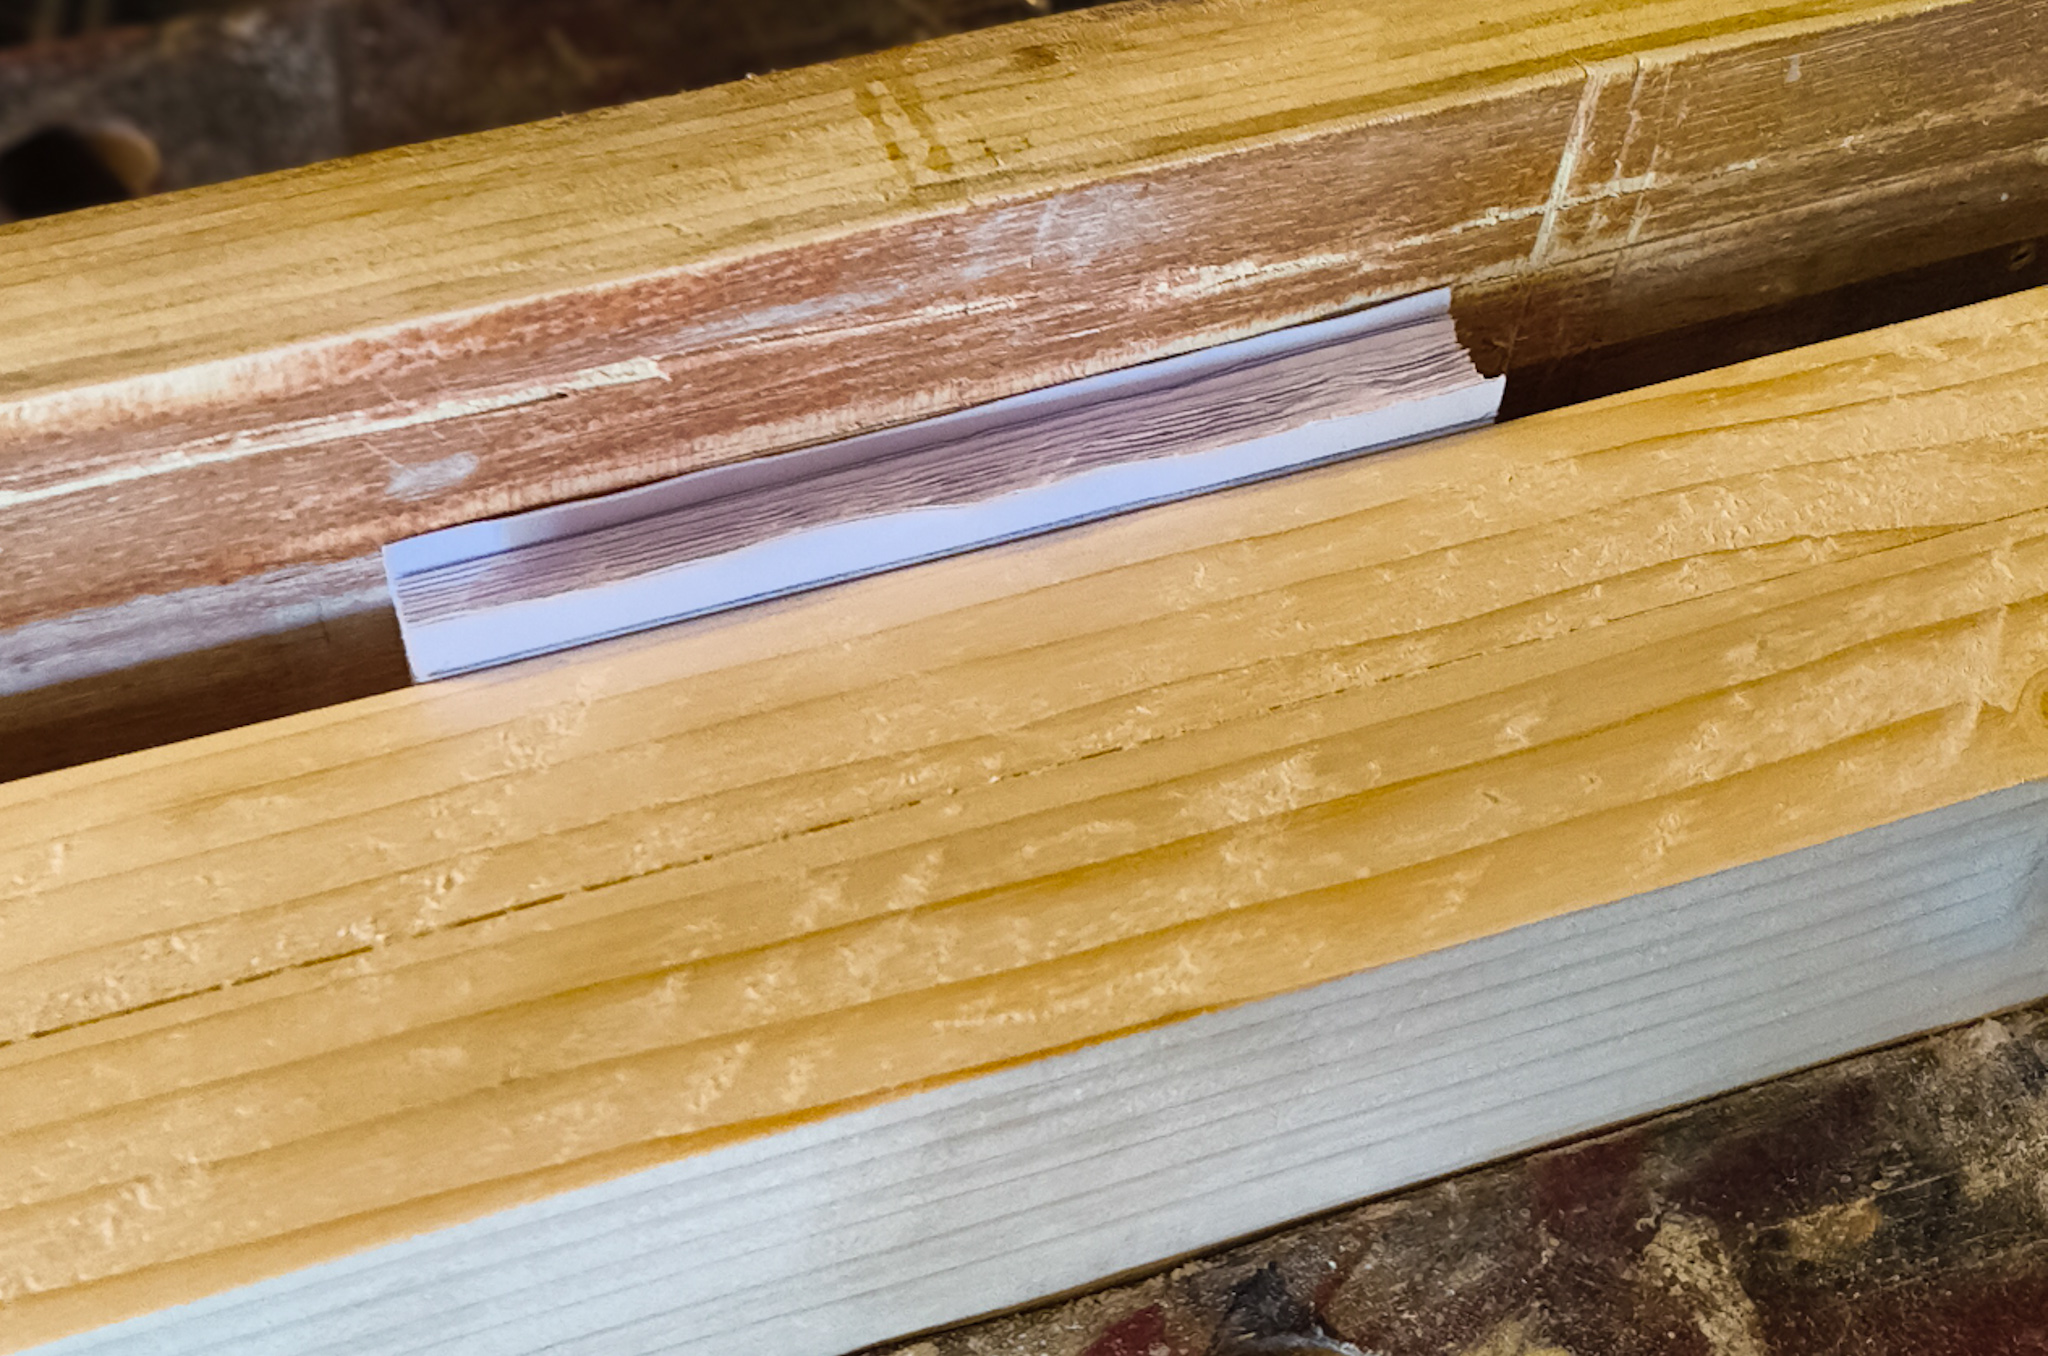
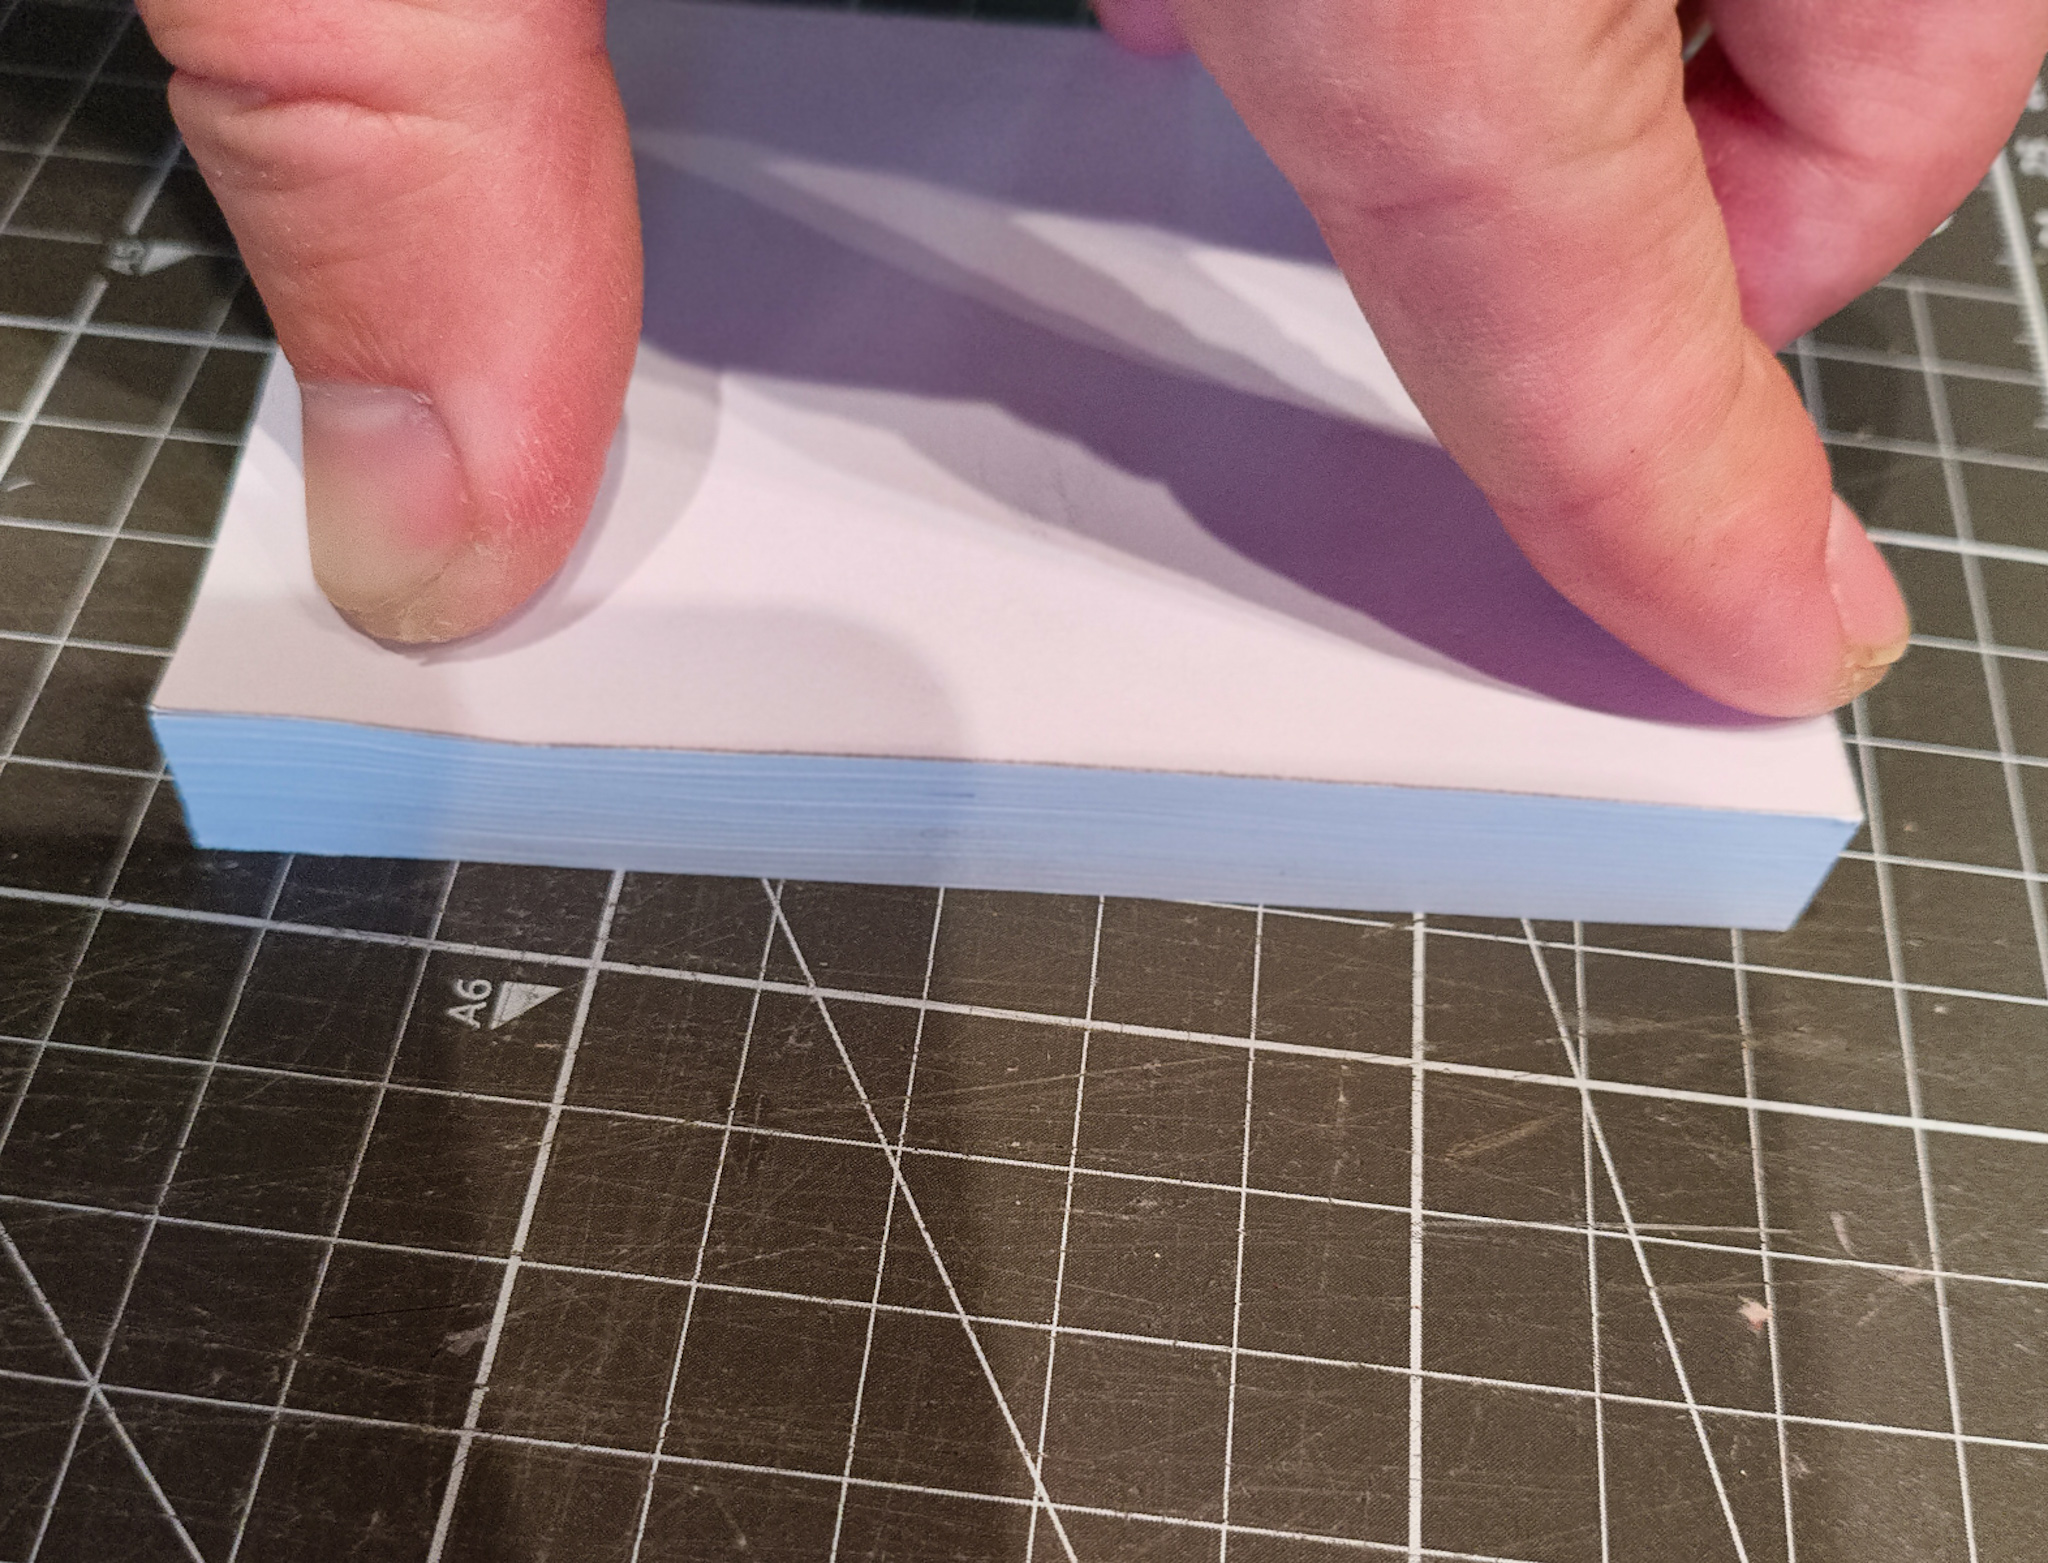
Step Two: Secure the Text Block
The book must be held as firmly as the chisel is sharp. Two smooth blocks of wood act as a makeshift press: clamp the text block between them so that the edge to be cut projects just as it needs to be trimmed. Take care that the block sits square, for even the slightest tilt or slant will greatly impact the final result.
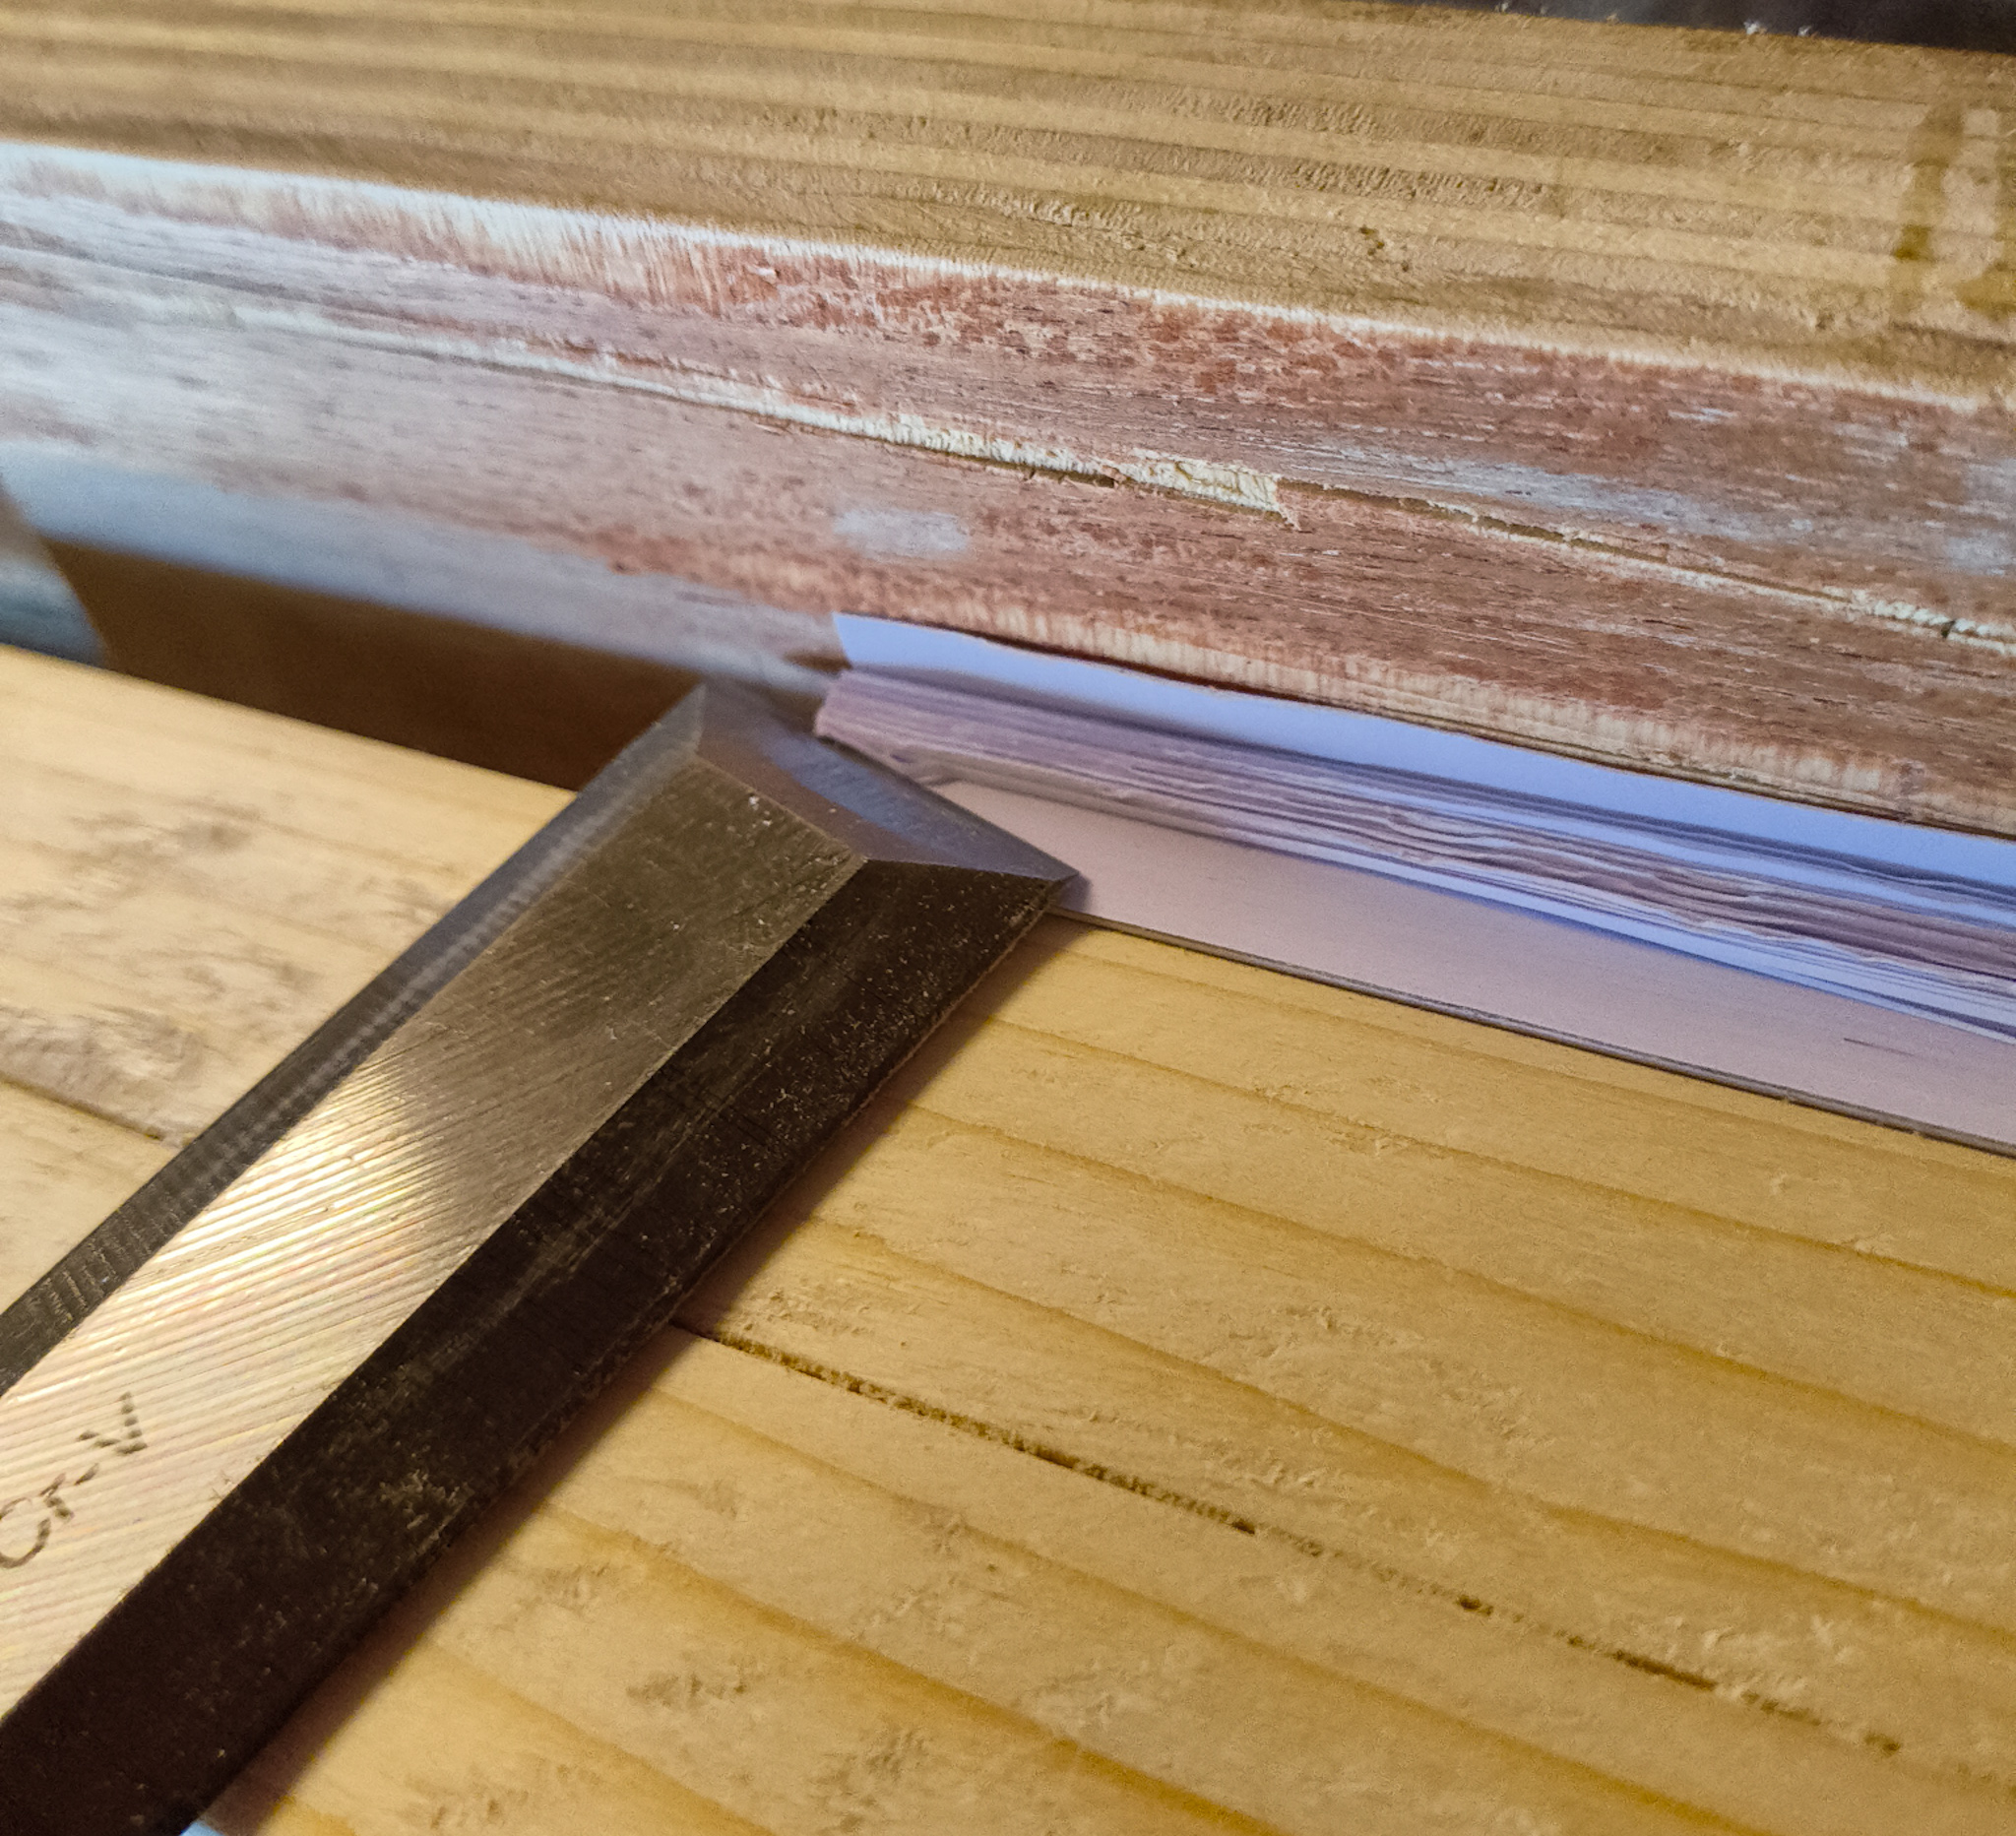
Step Three: Cut with the Chisel
Hold the chisel bevel-up, riding the chisel's flat surface against the wood so the edge skims just above the paper. The motion is not a chop but a gentle paring; use a slight angle to avoid tears with the chisel's non-cutting edge. Work from one side to the other in thin shavings, moving steadily along the edge. Several light passes are better than one heavy one.
If you reach the level of the blocks and find that the unevenness remains, you can redo the operation until the edge is square and flat.
Step Four: Sand and Polish
Once the cutting is complete, the edge may still hold faint marks of the tool. These are easily erased with sandpaper, used steadily to progress from coarse to fine. Always back the paper on a flat block and keep the strokes light so the edge remains square. With patience, the surface turns from fibrous to glassy smooth.
A final burnish with a bone folder or a trace of wax can leave it gleaming, ready to accept color, graphite, or gold if you wish to decorate.
The chisel method is not about speed but about control and perfection. It allows you to work quietly, without machines, and to appreciate the fine transformation of a rough text block into a polished book. It reminds us that even in an age of guillotines and industrial cutters, the simplest of hand tools, when handled with care, can still produce the most satisfying results.